In our last post, we reviewed How many steps are in the fashion design process.
From the fun inspiration stage where the designer observes and interprets trends in the world, to the moodboard phase where that research is compiled into a concise direction for the collection.
And eventually to how these ideas are developed into design concepts specific to the target market. But what are the next steps to take those designs and eventuate them into physical products?
Below we will get right into that as we look at the steps in the product development process of fashion.
Make The Fashion Development Process Simpler With Tech Pack Wizard

1. Fabric and trim sourcing:
As designers, we often visualize our designs in specific fabrics or at least we have a general idea of the type of fabric we want.
We know if a design is more suitable to a lightweight fabric with good drape versus a heavyweight fabric with a bit of texture.
This is the type of information you need to have already thought through before you begin fabric sourcing.
Whether you are sourcing your fabrics and trims through your trusted manufacturing partner or if you are working with a fabric sourcing agent, you need to be able to tell them exactly what you are looking for.
Even if you are going solo and fabric sourcing online, you need to know what to key in the search bar.
While you don’t necessarily have to know the exact gsm (grams per square meter) of the fabric you want, the sourcing agent will need a clear understanding of what you are looking for.
We could do a whole separate post of fabrics (hmm, I think we just might do that!) and the differences between knits vs. wovens, weights of fabrics, weaves and finishes. But if you don’t know the industry terminology, giving them a thorough description will be a good place to start.
Information to provide to your sourcing agent:
- Knit or woven?
- General fabric construction type if you know. For example, jersey or interlock for knits and poplin, twill or dobby for wovens.
- Weight and/or drape. It can be helpful to provide your sketches or reference images to help communicate this better.
For instance, you could say you are looking for a mid-weight sateen with good drape for PM wear. Or a heavy weight cotton twill for outerwear.
Armed with this information, your agent can go out and start looking for options tailored to your needs and send you swatches for review.
Once you receive a fabric that might be suitable for your design, you need to get more information to make sure it is workable.
Some helpful questions to ask at this stage are:
- MOQ for sampling, MOQ for bulk and will the mill accept below MOQ with a surcharge (and what would that surcharge be)?
- Price per meter or yard. Be sure to clarify if this is quoted FOB, FIS, etc. Check out our Vocab post for more clarity around these abbreviations.
- Lead time? In order for you to work this into your production schedule.
- Available colors or will the mill dye to match a provided color standard?
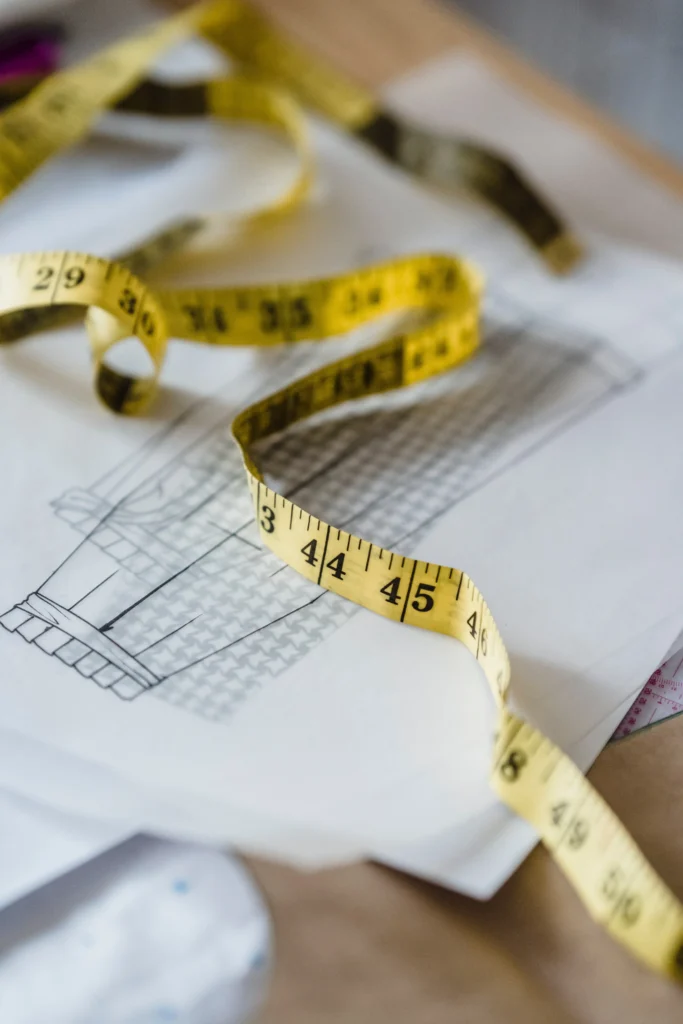
2. Flat sketches and fashion tech packs:
Time to get technical! Starting with your technical sketches.
Remember to sketch your flats as if the garment is lying on a flat surface ready for measuring.
And always, always include all details, including stitching lines, trims and closures… don’t forget the closures! We need an entry and exit to all garments and sometimes that is with the help of a zipper or buttons.
With your tech sketches complete, it is time to begin building your tech packs. Include every detail your factory will need to know in order to produce the garment.
Tech pack Checklist:
- Cover Sheet with flat sketches, comments to factory and pertinent information for an overview of the garment
- Colorways Sheet with all color combinations you will order the garment in
- Construction callouts that guide your patternmaker, sample maker and factory in creating the design
- Measurement chart, including a graded spec sheet and annotated how to measure sketch
- Fit sheets to document each sample. Add these as you get your protos and samples
- BOM (Bill of Materials) listing out all materials used in the garment. And when we say all, we mean ALL. Be sure to include thread, buttons, labels, trims… all of it!
- Labels & Packaging information for your production facility to follow when sending bulk shipments
Pro tip: TPW is a tech pack software designed to help fashion freelancers and small brands quickly create TPs directly in Adobe Illustrator and streamlines the tedious aspects of the tech pack process.
Alternatively, some designers choose to use Illustrator to create the sketches and all graphics and then will export all images into Excel to put the tech pack together.
Make The Fashion Development Process Simpler With Tech Pack Wizard
3. Sampling:
With your tech packs complete, you are ready to begin the sampling stage.
The patternmaker will develop the patterns based off your *very detailed* tech packs.
If you are working with a Fully-factored supplier, they will create the patterns in house and make the first proto from that to send to you.
If using a CMT supplier, you will need to find a patternmaker and sample maker on your own (sometimes you can find one person or workroom to do both of these things) and work through the sampling stages with them.
Once you have refined the patterns and protos ready for production, then you give your CMT factory the tech pack, proto, pattern and all fabric and trims necessary for the production run for each style.
When working with full package production suppliers, you will fit the protos they send you and give them comments of what to improve or change for the next sample. You continue this process until the styles are approved to production.
Read here to learn more about the different types of samples in the product development process.
4. Development
The last stage is development. After approving your last sample, the style is allocated in the factory’s production schedule.
During this stage, it is best to maintain your own production calendar to keep track of when your deliveries should arrive. Be sure to confirm lead times and shipment dates with each factory and update your calendar accordingly.
With this in mind, you can start planning your photoshoots and marketing according to the delivery schedule. Get your customers excited about what’s to come!
Onto Next Season
As we designers are a multi-tasking bunch, while these last few phases are going on, you should get started on your next collection.
Start gathering your inspiration and begin the whole process over for the next season. A beautiful and exciting circle!